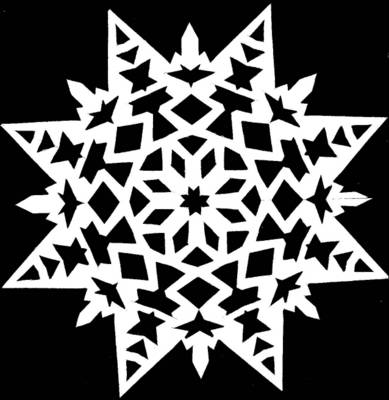
I know that this (like my yet to be sent Christmas Cards) is a bit late to use. I was reminded of making these because now I am in the process of taking down our decorations. Here is how I make a snowflake: 1. Fold the paper: Fold a regular piece of 8 1/2 x 11 printer paper in half top-to-bottom. Then fold from left to right. One corner will represent the middle of the paper (m) and the opposite corner (o) will have all of the original paper's corners arrayed on top of each other. Fold down the edges (paper airplane style) such that a 45 degree angle is formed with the pointed part originating from corner (m). Repeat this process by refolding the flaps, so that you now have an angle of 22.5 degrees originating from (m). 2. Cut your desired shape: It should be noted that the edges of paper opposite from (m) are not all the same length. In order to assure that your snowflake is completly symetrical, you will need to trim the side opposite point (m). Other than this recomendation, let yourself go! The only cost of failure is a little time and one piece of printer paper. 3. Finish up: One should unfold a snowflake carefully. The cut-outs some times stick together a little, so be patient. I found that ironing completed snowflakes makes them less snaggy and allows them to hang better. dbp
Subscribe to:
Comments (Atom)


